How to... renew your classic car’s balljoints

| 12 Mar 2019
Classic & Sports Car – How to... renew your classic car's balljoints

Balljoints are a key component in the independent front suspension of classics that don’t use the simple – but high-maintenance – kingpin arrangement inherited from beam-axle designs.

A balljoint allows the stub-axle to move up and down and turn, while keeping the tyre tread in the same plane as the tarmac.

Although tough, balljoints will eventually require replacement or wear – and resultant play – will lead to incorrect geometry, reduced tyre life and poor handling.

Worn joints also put undue stress on other areas of the suspension, and excessive play will result in an MoT failure.

Suspension components can be heavy and difficult to remove and re-assemble. Their location also means that they take a hammering from road grime and salt, which can seize bolts.

Use penetrating oil to free them rather than heat, which can damage tempered items and potentially set light to any grease. 

You’ll need to compress coil springs to access joints, although if your car has torsion bars you may be able to get at the top one without relieving the bar. If the suspension hasn’t been apart before, wear a mask because stripping may release asbestos-rich brake dust.


STEP 1: PLAN DISASSEMBLY
Classic & Sports Car – How to... renew your classic car's balljoints

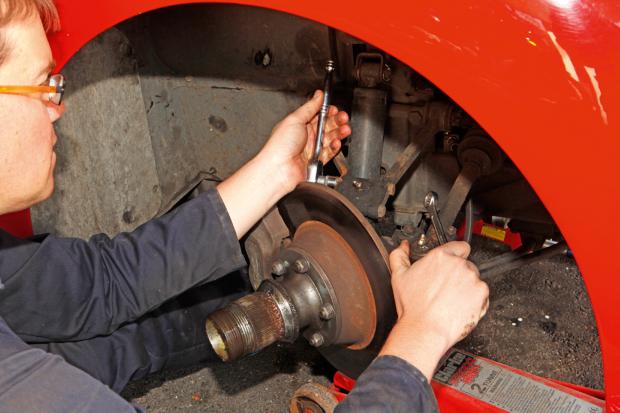
Take time to understand what and how you’re going to dismantle before diving in.

Most manuals have exploded diagrams showing the order in which things need to come apart.

Bear in mind that balljoints don’t wear in isolation: there are likely to be other parts worth replacing at the same time.

STEP 2: RELEASE SPRINGING LOAD

Classic & Sports Car – How to... renew your classic car's balljoints

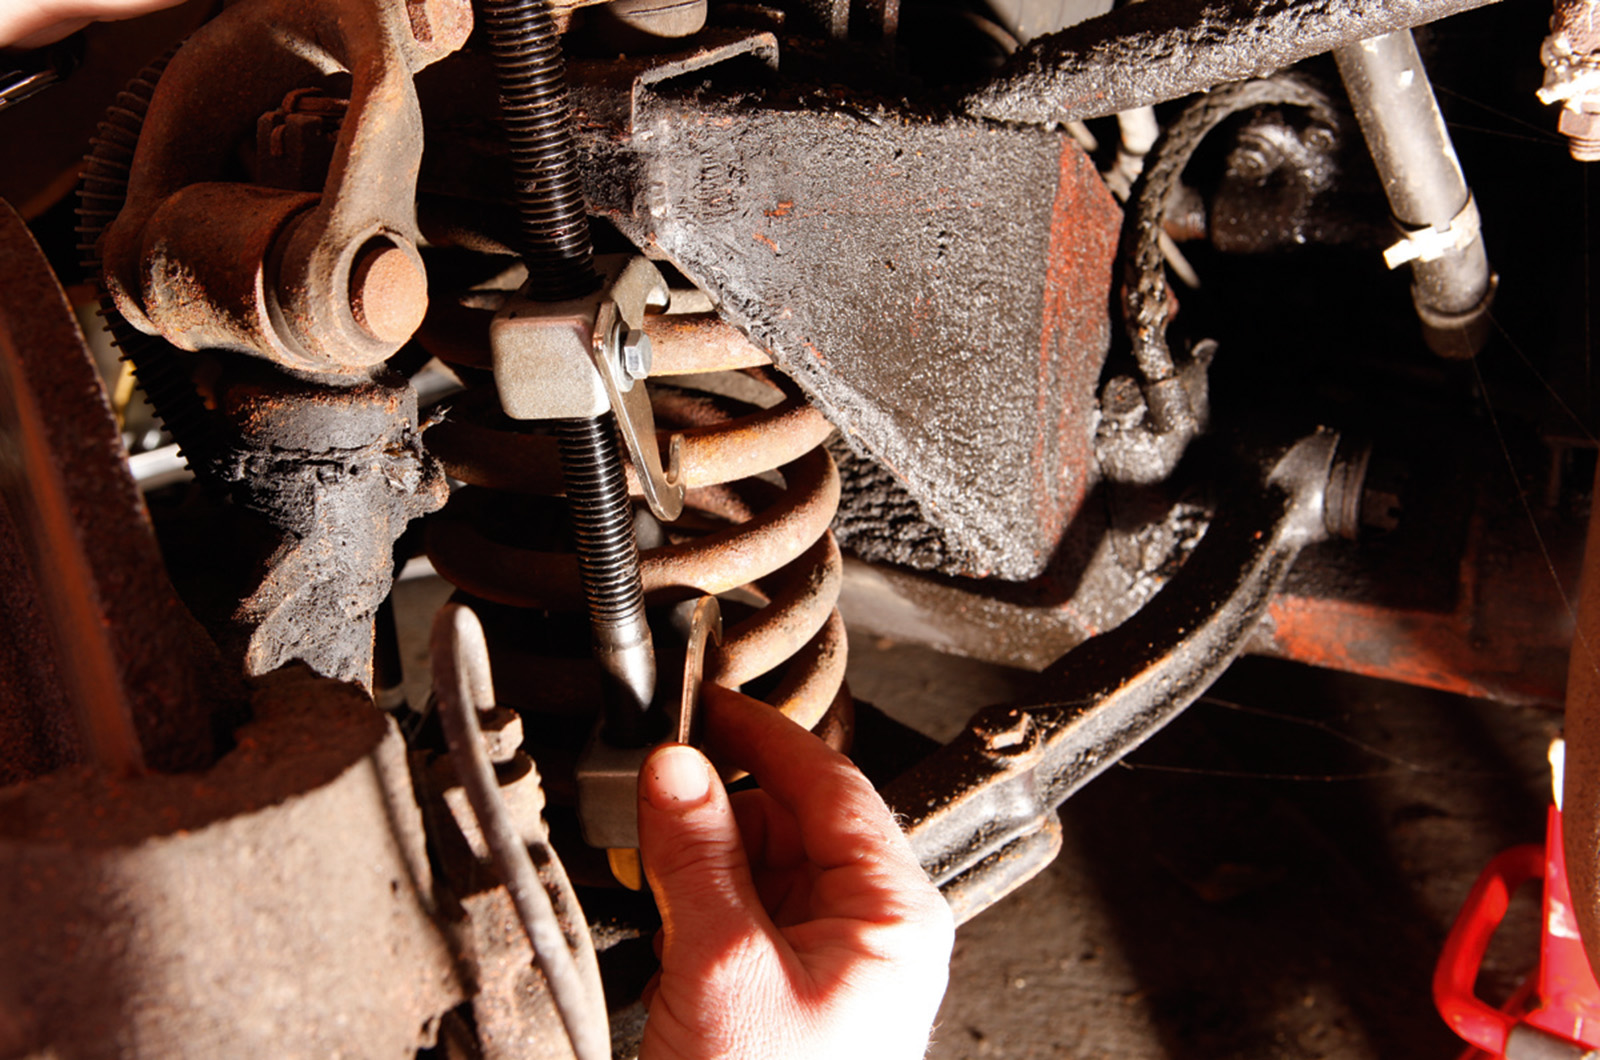
Torsion bars can be relieved by turning the tension adjuster until the suspension is fully collapsed, but coils need to be clamped with a spring compressor.

It’s preferable to use three evenly placed threaded compressors (not two). Tighten carefully and never put fingers above, below or between the coils.

STEP 3: REMOVE SHIMS

Classic & Sports Car – How to... renew your classic car's balljoints

Shims are crucial for geometry and typically dictate caster and camber.

Make a note of the exact location of any visible shims before you loosen the joint. They may not be easy to see, but are dislodged as the suspension comes apart.

Be sure to count them, and don’t assume that they’re in the same place on each side of the car.

STEP 4: SPLIT BALLJOINT

Classic & Sports Car – How to... renew your classic car's balljoints

The tapered shaft of a balljoint fits into a bushed hole in the upright and is effectively a press fit, created by the weight of the car.

Don’t use a hammer: a joint splitter can remove it without damaging the thread or upright. Designs vary, but most use the same principle: levering the joint free by extending a threaded rod.

STEP 5: CHECK NEW COMPONENTS

Classic & Sports Car – How to... renew your classic car's balljoints

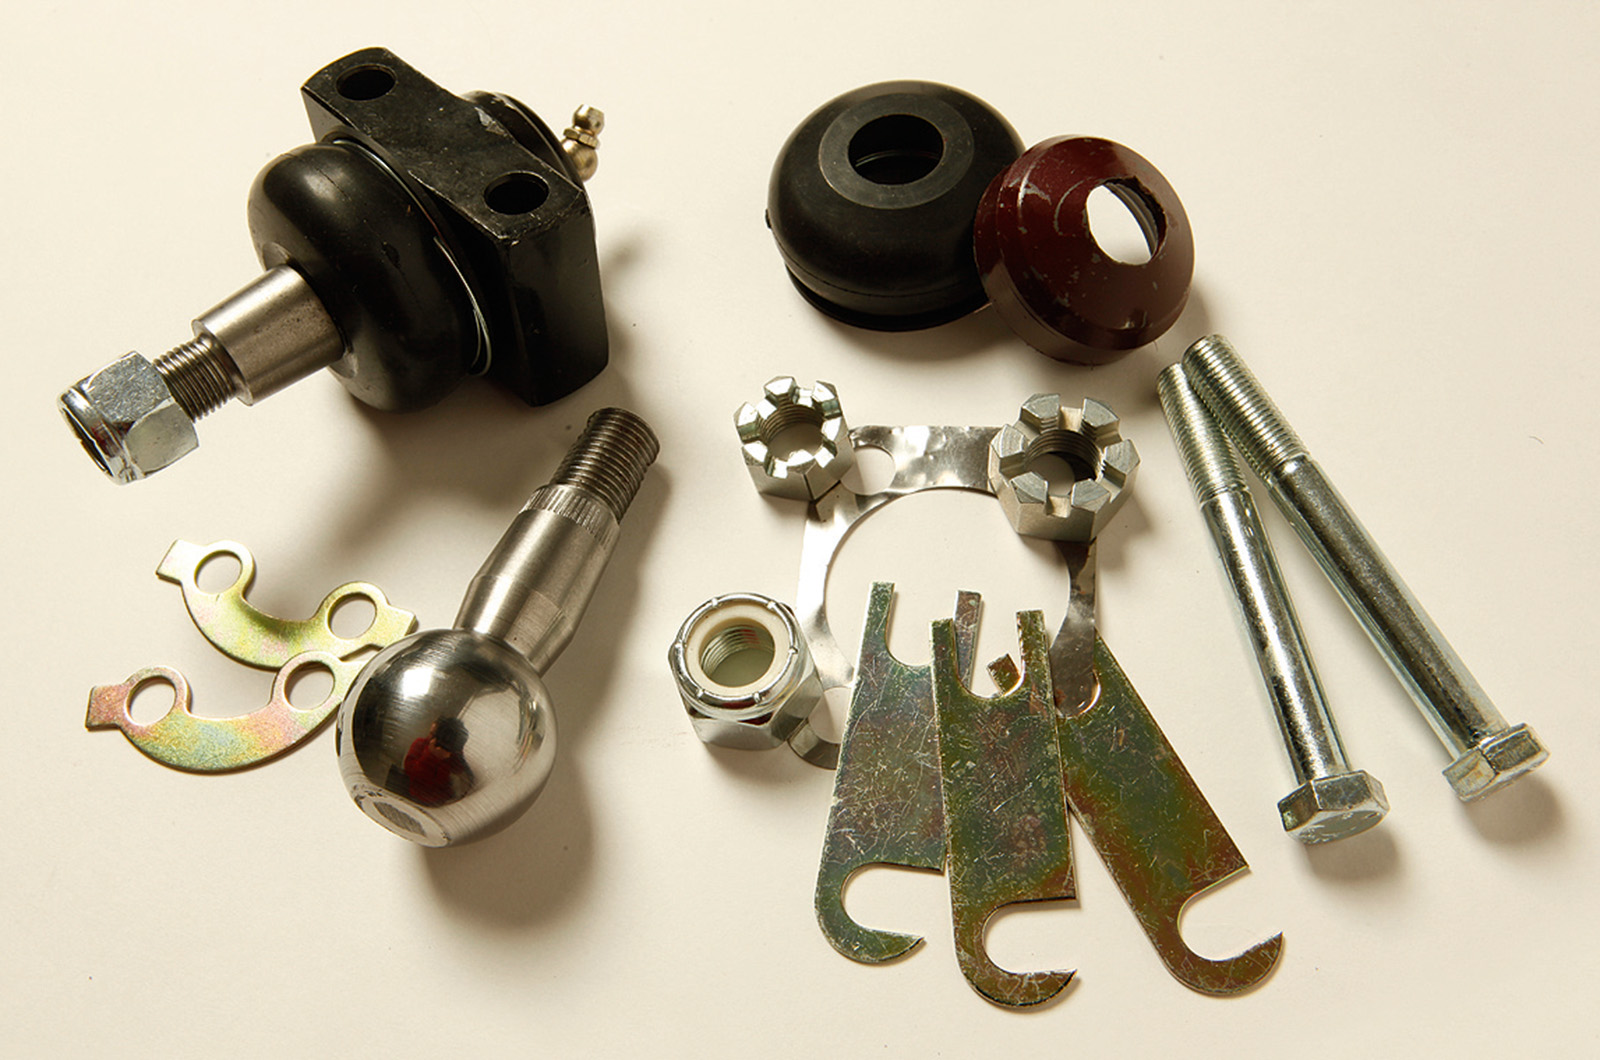
Unless you’re lucky enough to find some New Old Stock, replacement parts are likely to be remanufactured items, so quality and dimensions can vary.

Don’t be alarmed if the new joint lacks a grease nipple because replacements are often ‘sealed for life’. Where possible, use new bolts, nuts and lock-tabs.

STEP 6: RE-ASSEMBLE

Classic & Sports Car – How to... renew your classic car's balljoints

Clean associated parts and check for any damage before you put it all together.

You may need to jack up the suspension to line up bolt holes or tap with a mallet to press items home – but be wary of using too much force on cast items.

Do one side at a time, so you have an assembled side as reference.

STEP 7: CHECK TABS AND SPLIT-PINS

Classic & Sports Car – How to... renew your classic car's balljoints

Tighten the bolts systematically in a sequence and check that everything is properly fastened.

Always use new lock-tabs, and remember that castle nuts require new cotter pins. Ensure they’re of the correct grade and bend the pins fully around the body of the nut so they can’t be easily caught and pulled out.

STEP 8: GREASE AND CLEAN UP

Classic & Sports Car – How to... renew your classic car's balljoints

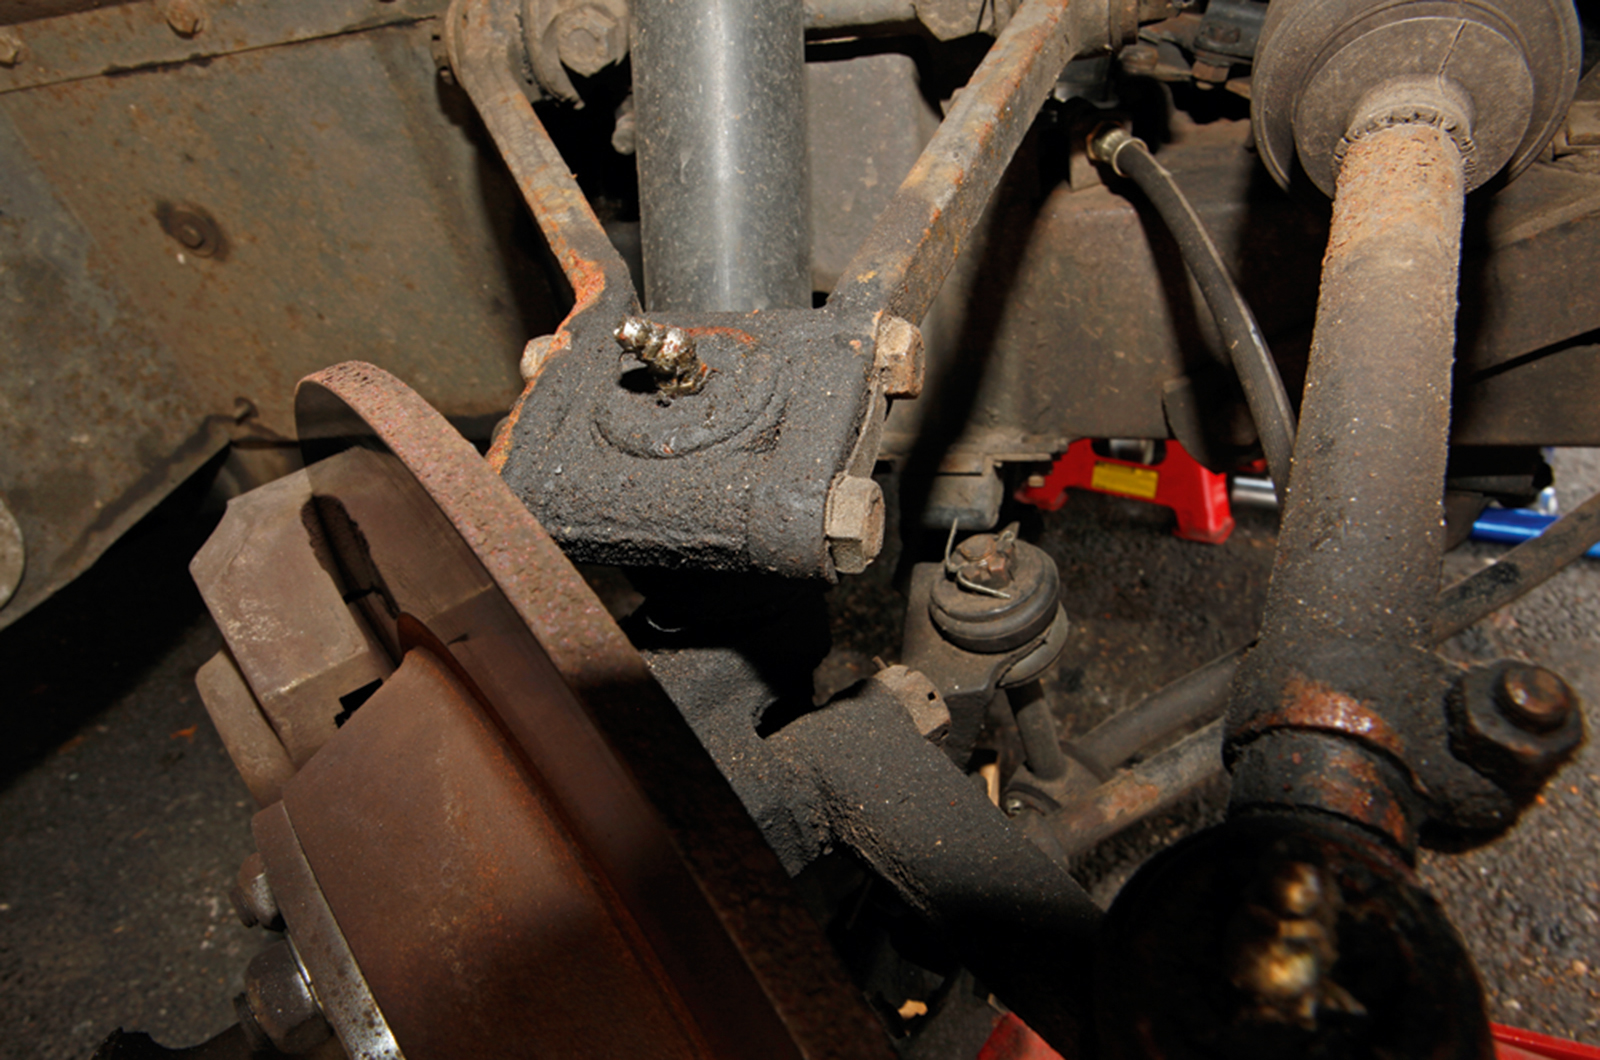
Clean all components, particularly the surface of brake discs, which may have been contaminated with grease.

If your balljoint has a grease nipple, then it’ll need filling. Half a dozen strokes of the grease gun should be enough: be careful not to overdo it or you risk dislodging or splitting the rubber gaiter. 


READ MORE

Check out all our ‘How to…’ guides here

How to buy a classic car

How to… rustproof your classic car

How to… adjust your classic car’s headlights

How to... change a clutch on your classic car