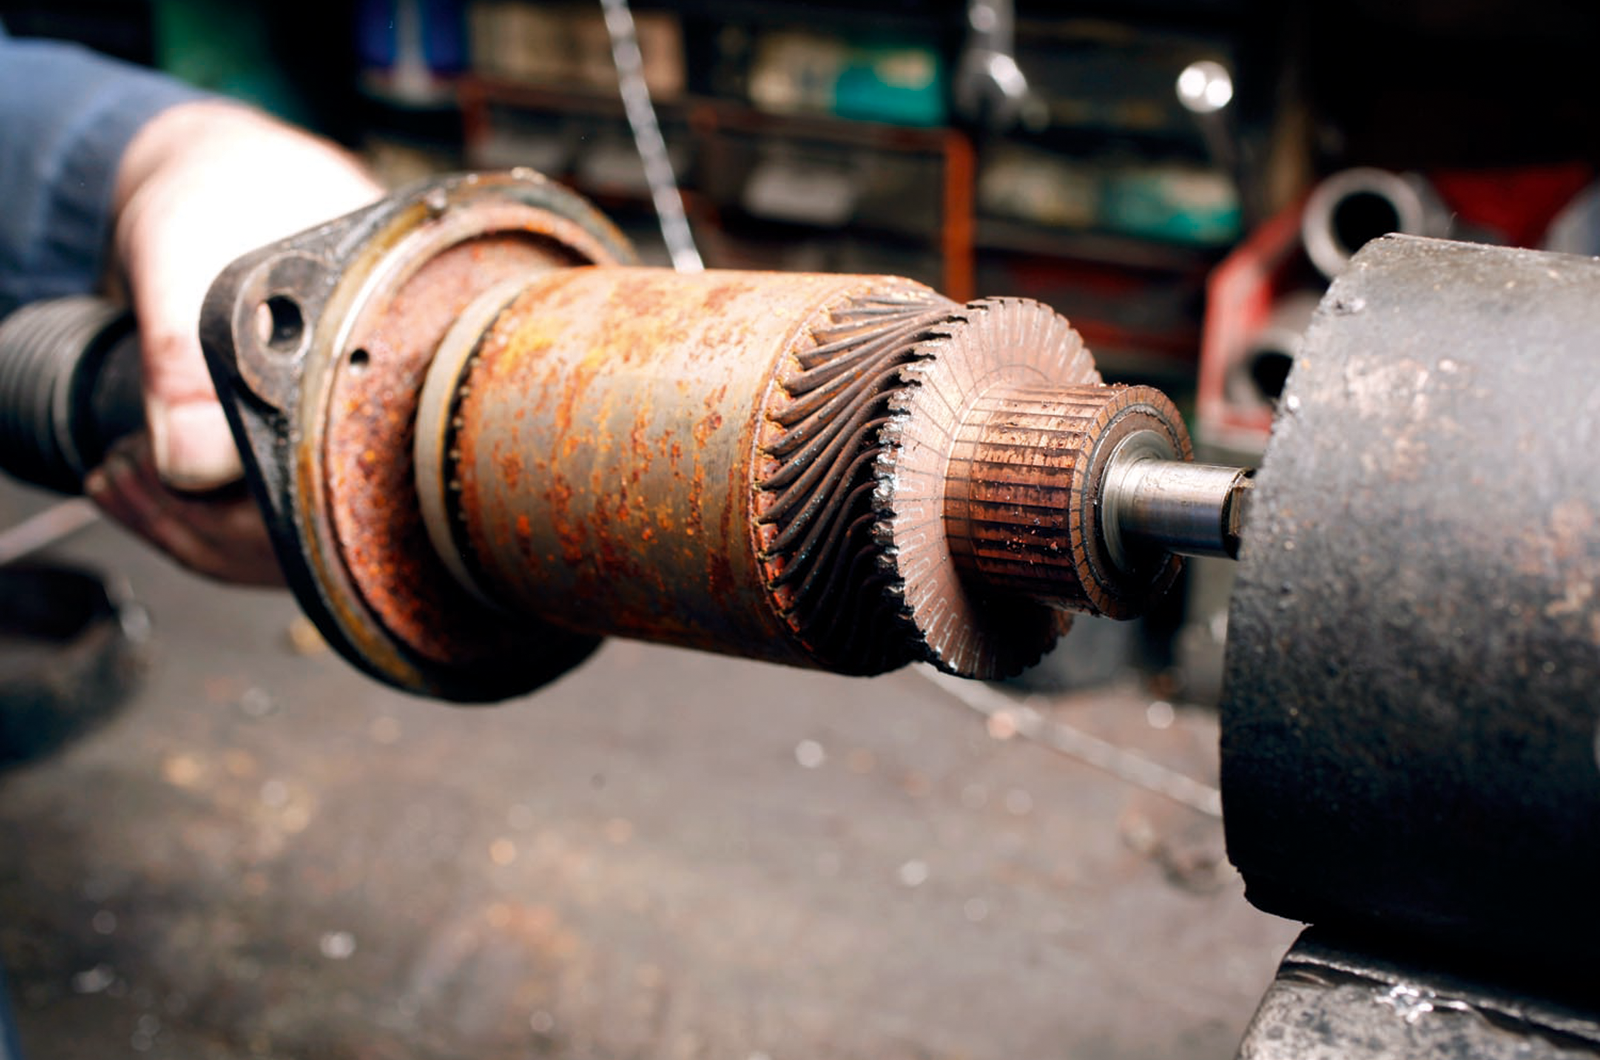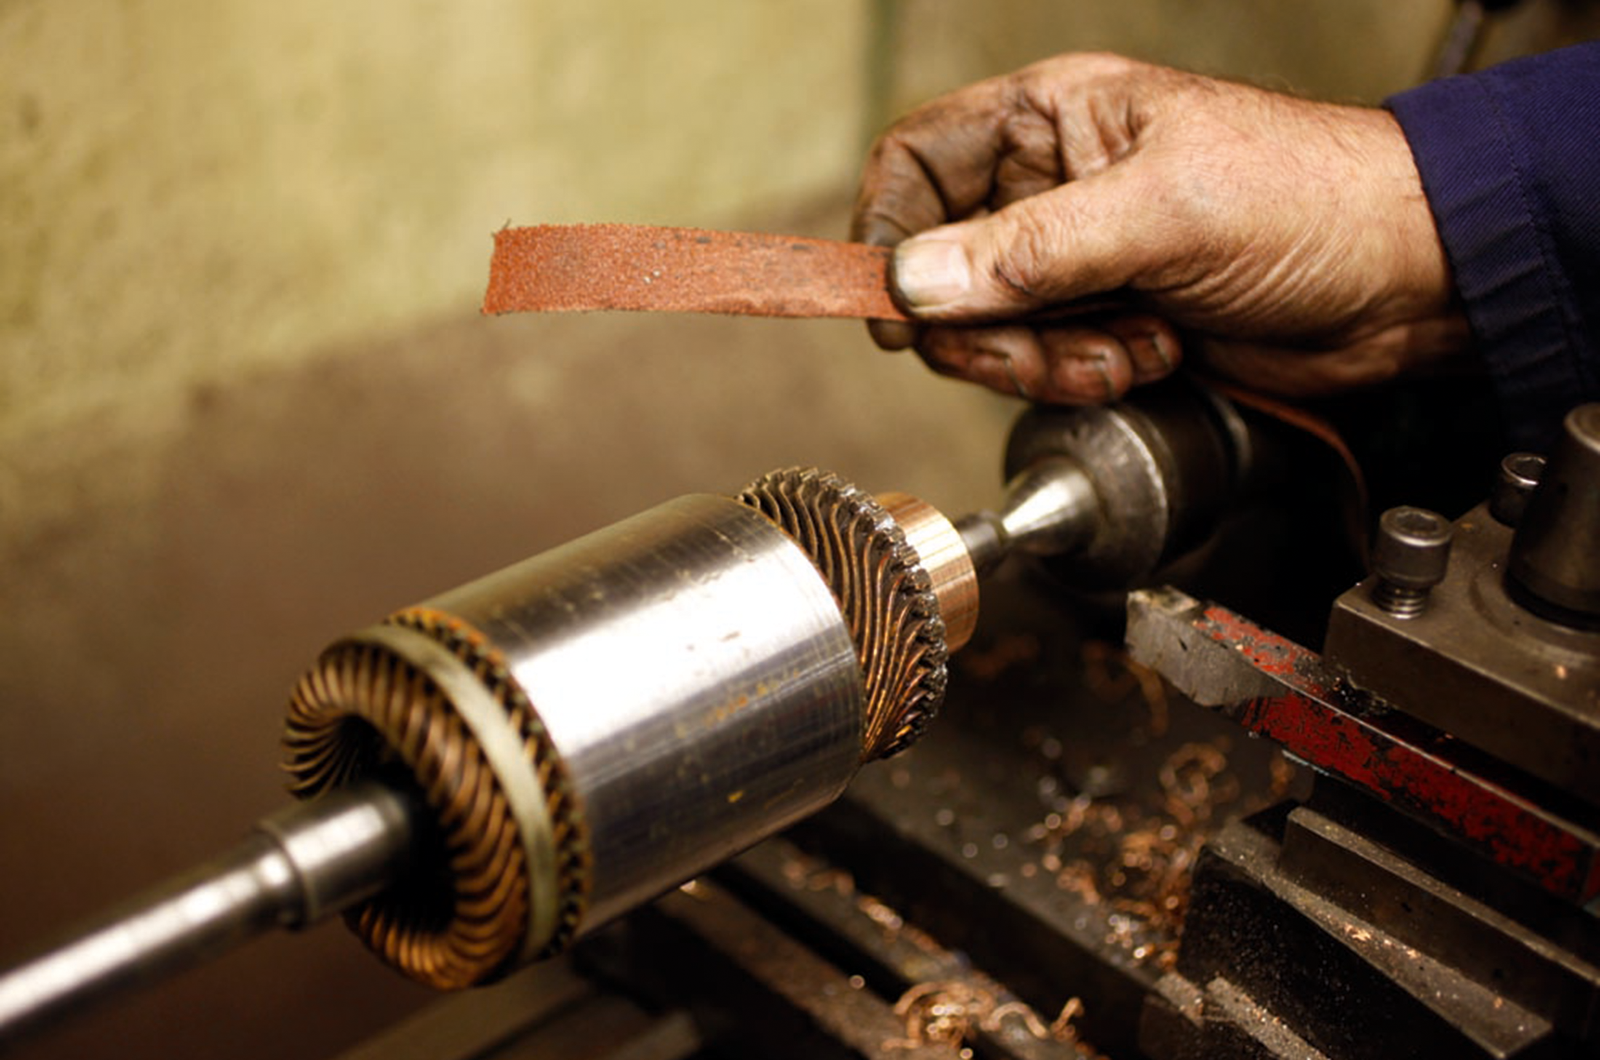
The starter motor is heavy, sturdy and unlikely to get much attention, but a faulty one will be a real headache.
Often located in the depths of the engine bay, making it hard to access even in a workshop, it’s not the sort of component that you want to be trying to remove and dismantle at the roadside.
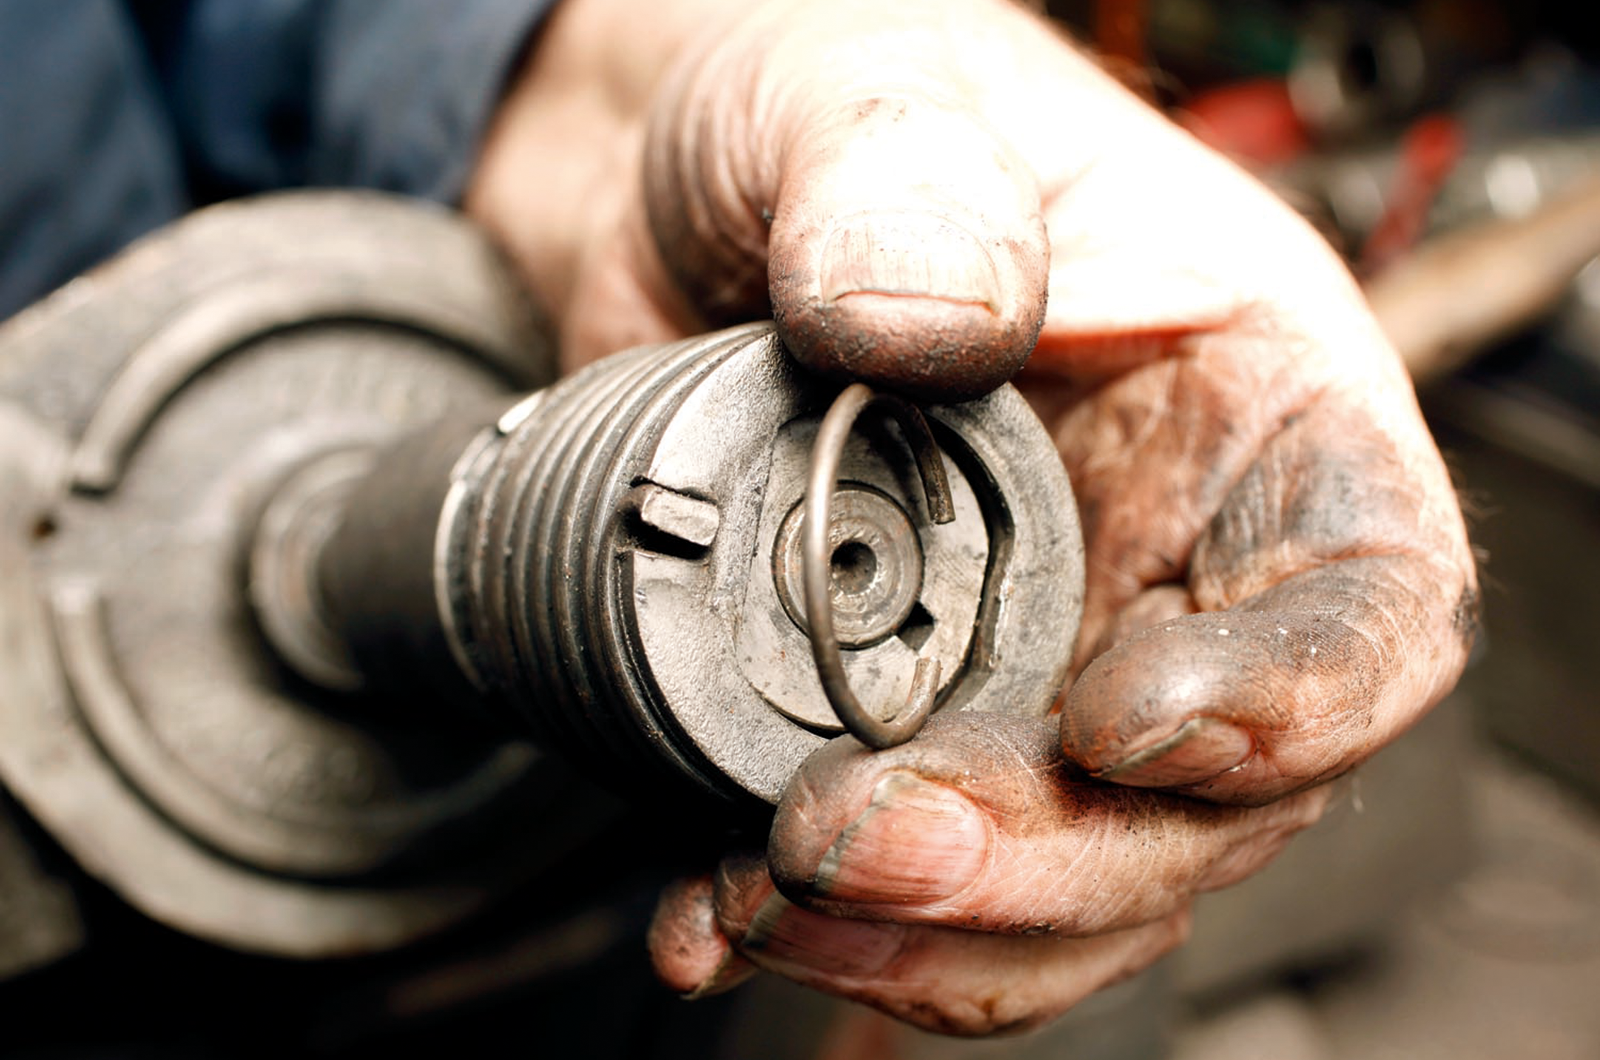
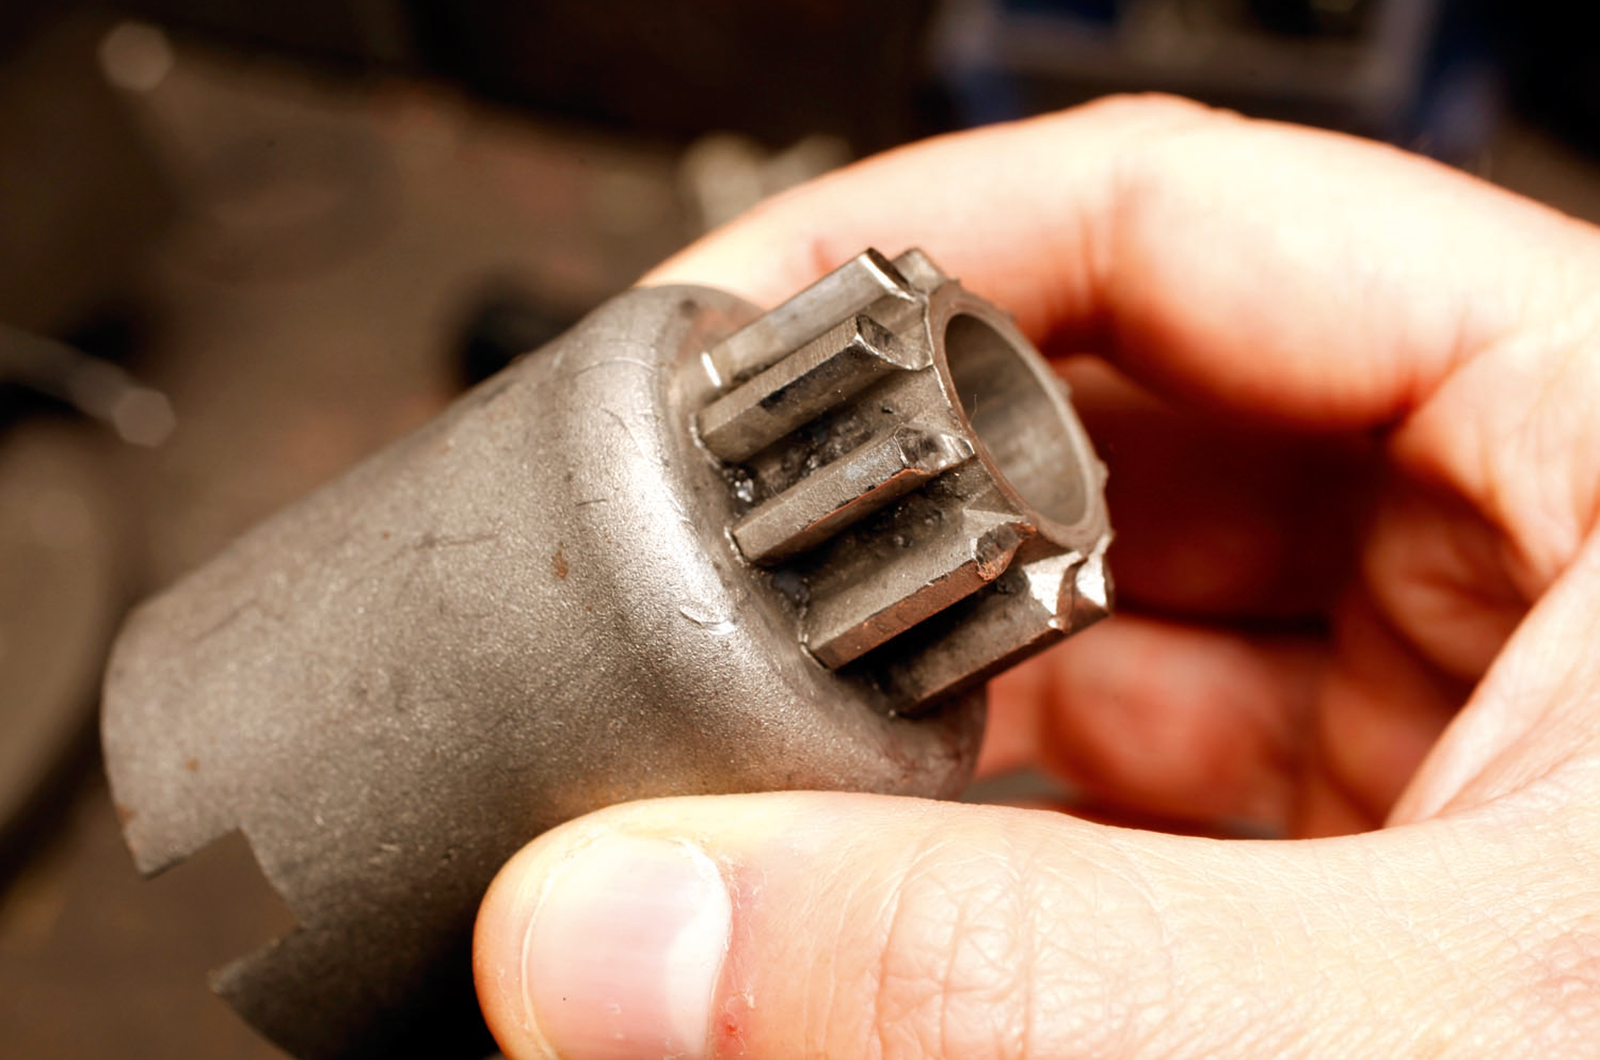
There are two types of starter motor: inertia and pre-engaged. Inertia units are common to most 1960s (and earlier) classics, and work by spinning a pinion that drives itself up the main shaft and engages with the ring gear.
When it mates – if it doesn’t you’ll hear a distinctive metallic grating sound – it cranks the ring gear around. As the engine fires, the excess speed that the pinion picks up forces it out and a spring returns it home.
Pre-engaged starters are more sophisticated, with a solenoid that pushes the pinion to engage with the ring gear, before another solenoid supplies power to the starter and gets it to turn over.
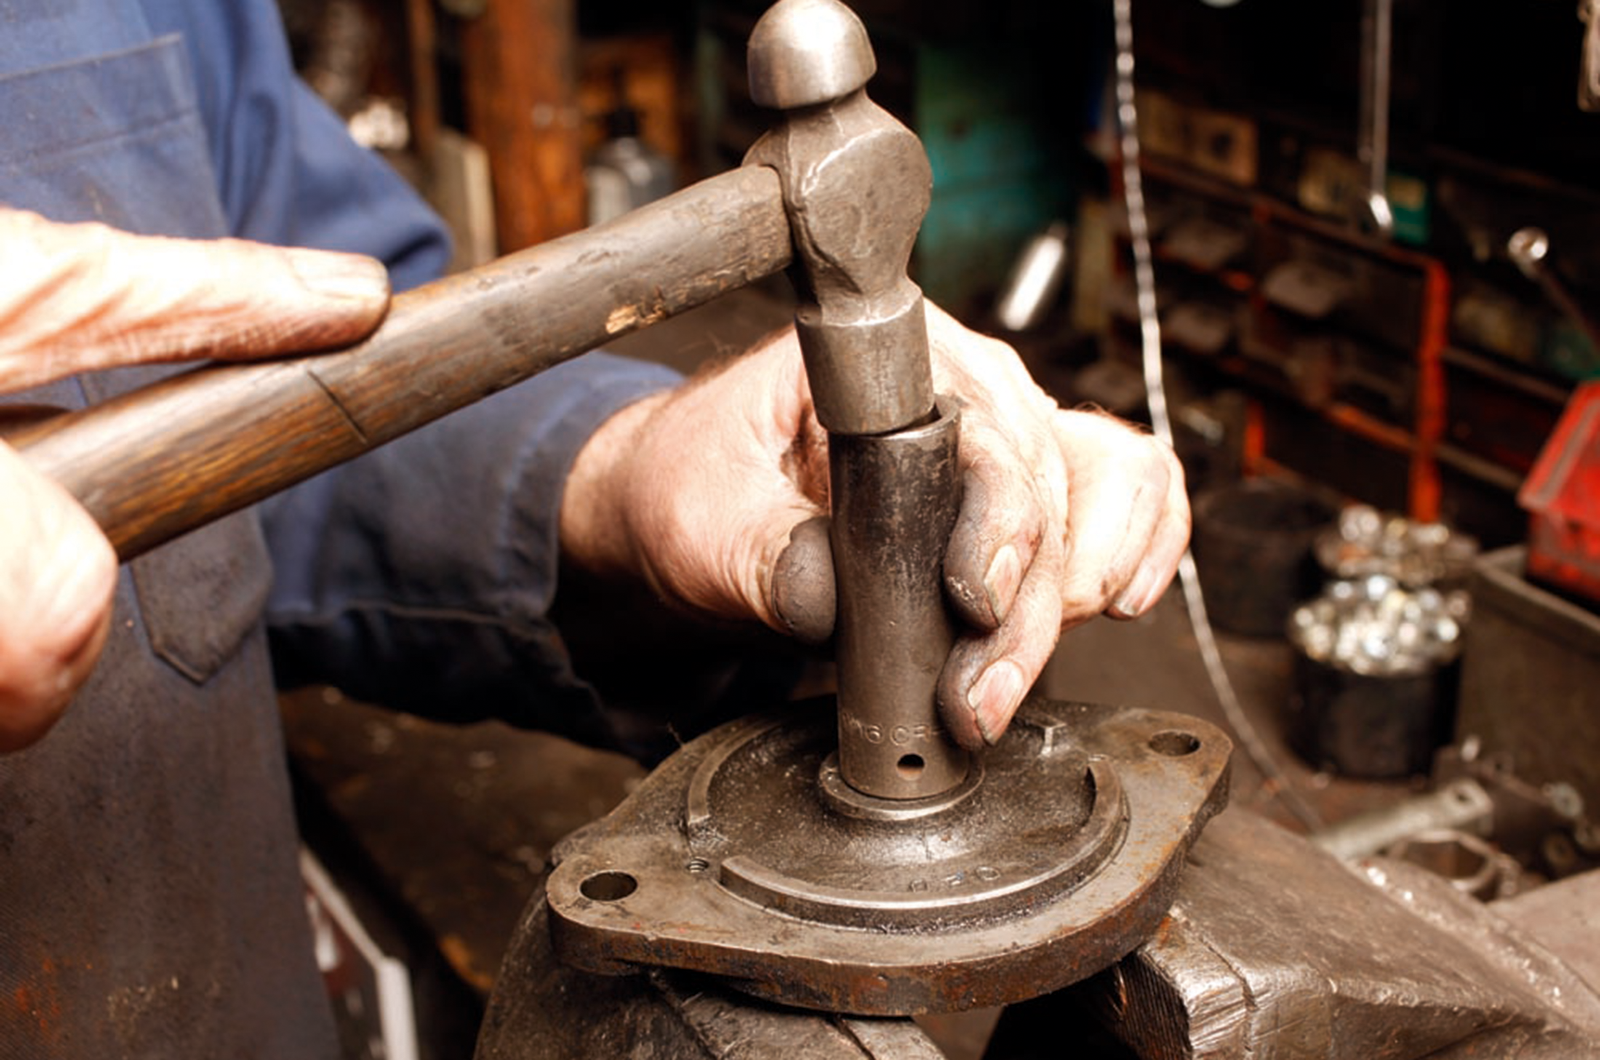
We’re focusing on the inertia version here, but the procedure is largely similar for either variant. With a strip-down, inspection, plus a fresh set of bushes and brushes, your starter should be good to crank away for years to come.
1: REMOVE THE BRUSHES
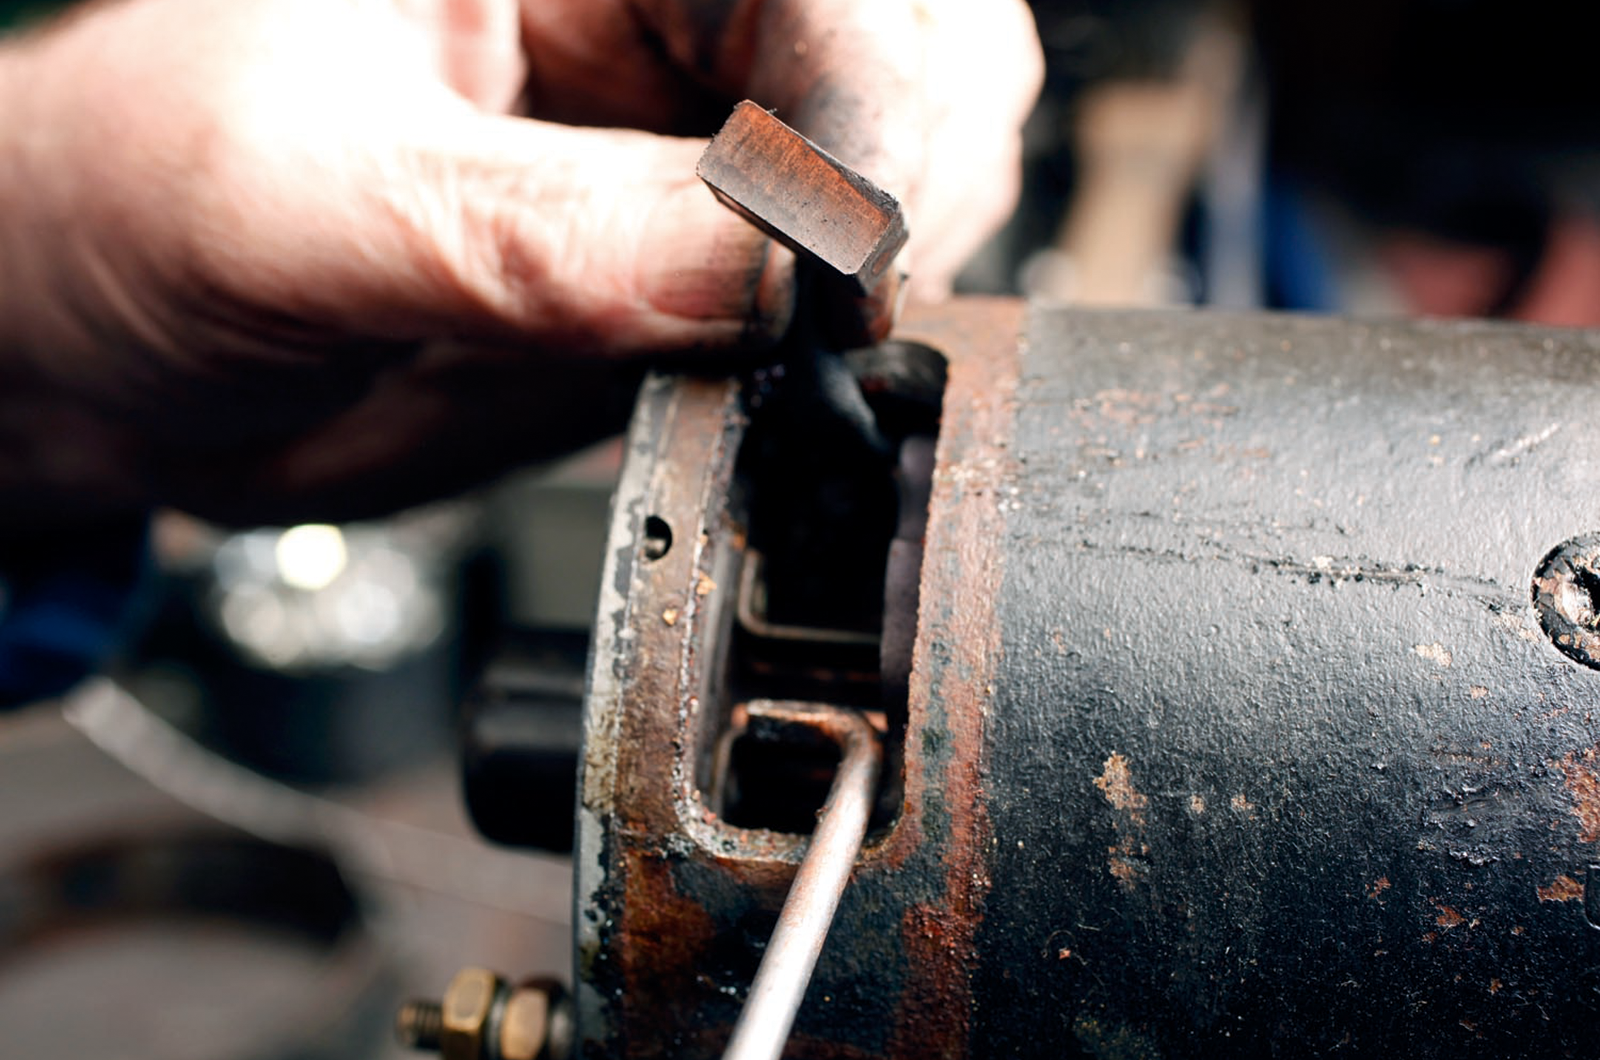
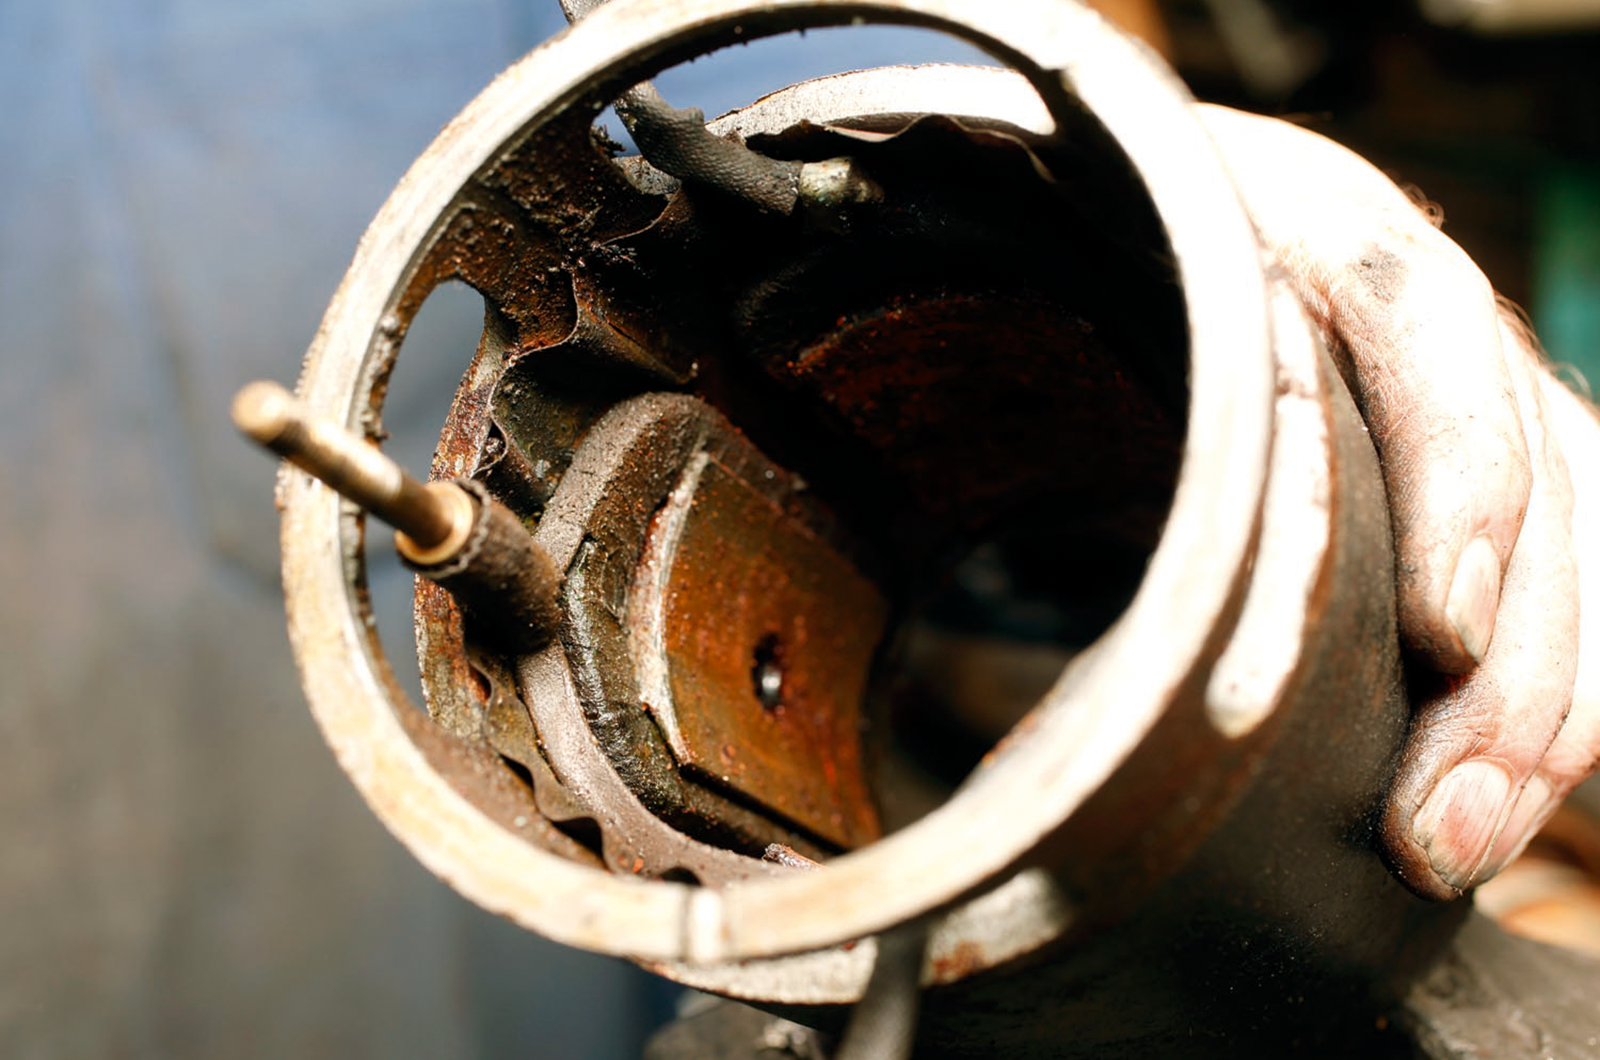
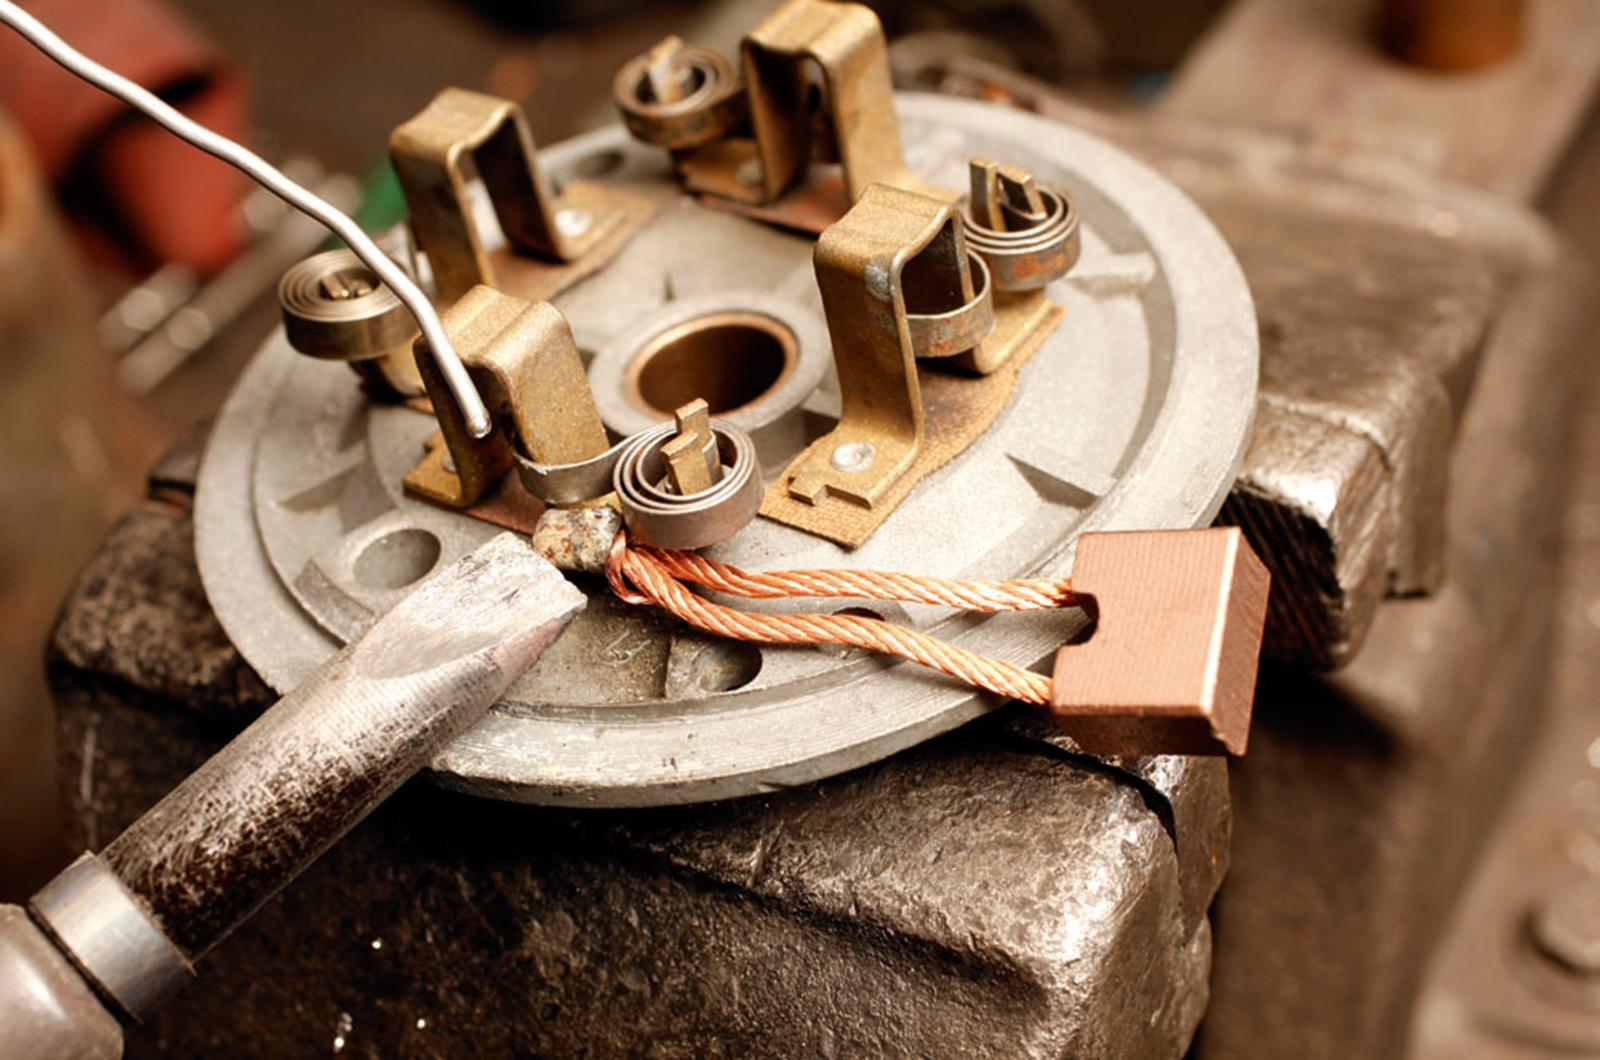
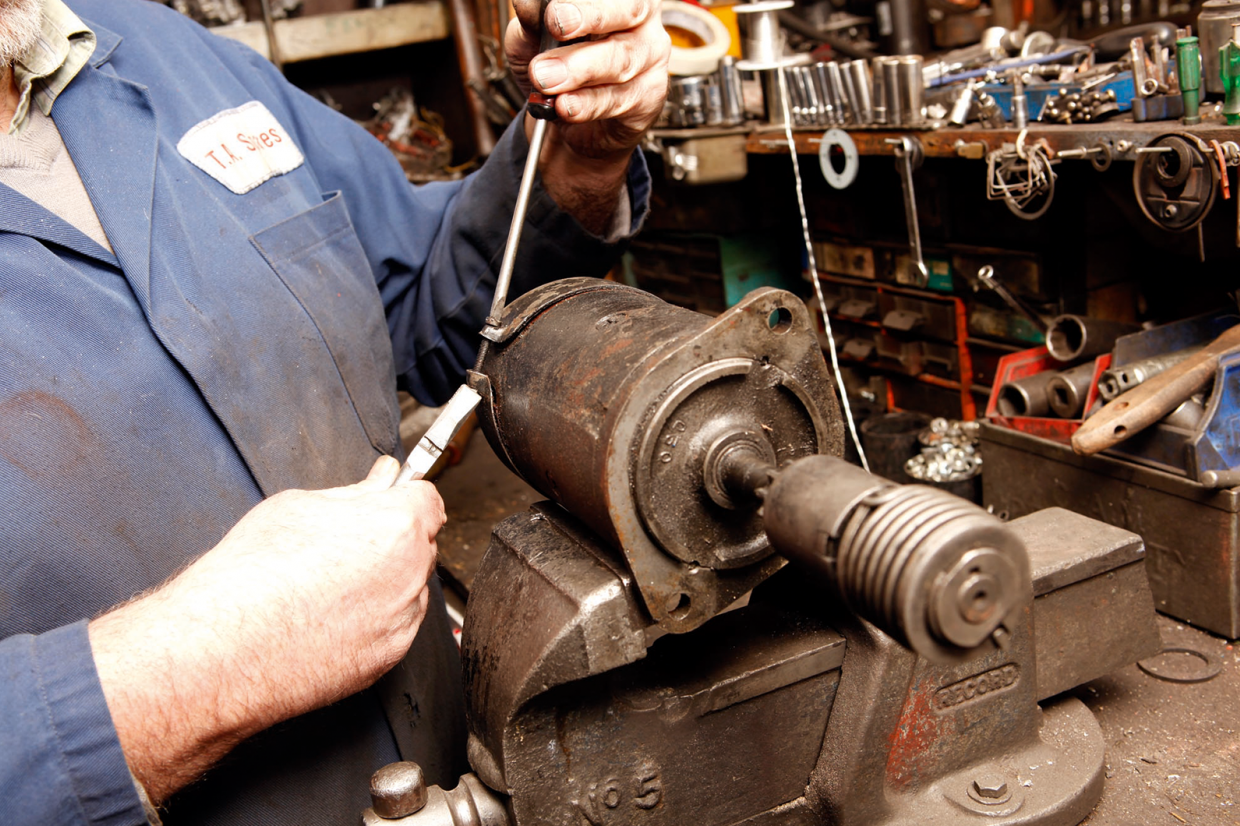
First take off the brush cover plate and prise the brush spring clips from their posts in the brush cage. Two brushes will be connected to the backplate and another pair to the coil windings.

